Applovin Max Flutter – Show Applovin ads in Flutter apps
Ads in mobile apps are advertisements that are displayed within mobile apps. They are a popular way for app developers to monetize their apps and for advertisers to reach a large and engaged audience.
Applovin Max
AppLovin is a mobile technology company headquartered in Palo Alto, California. It was founded in 2012 and has since become one of the largest and most successful mobile advertising companies in the world. AppLovin provides a suite of tools and services to help app developers market, monetize, and analyze their apps. Today we will learn how to show applovin ads in flutter apps.
Show Applovin ads in Flutter apps
AppLovin displays ads on Android and iOS devices, including smartphones and tablets, making it suitable for both mobile platforms. Additionally, it provides ad services for Unity game development, Xamarin and Flutter cross-platform mobile apps, enabling developers to integrate ads seamlessly into their applications.
Let’s see how we can integrate AppLovin ads into Flutter apps.
Prerequisites for Applovin Max Flutter
Before integrating AppLovin ads into a Flutter app, it is necessary to have Flutter installed in your machine and an AppLovin account from where we can obtain the ad IDs and use them to display ads in our app.
If you have these two essentials, then let’s move on to the first step of implementing ads in our Flutter app
Step 1 : Add Applovin_Max dependency
To display applovin max ads in our Flutter app we have to add applovin max plugin in our project. To add this plugin we will write this dependency in our pubspec.yaml file.
Open your pubspec.yaml file and write this line under the dependencies section.
applovin_max: ^3.3.0Like this

Alternately we can also add this plugin using the flutter command. Simply run this command in terminal.
flutter pub add applovin_maxBefore run this command, make sure that you are in the project’s folder in terminal.
We just added the applovin max plugin in our project. Now we have to install this plugin. To do this we will this commant in terminal.
flutter pub getThis command will install the plugins that we have mentioned in our pubspec.yaml file.
Step. 2 : Import Applovin Max Plugin
After installing the Applovin plugin, subsequently, we will import this plugin in our main.dart file, thereby enabling us to use its functionality in our project. Write this code at the top of the main.dart file.
import 'package:applovin_max/applovin_max.dart';Step 3 : Initialize the Applovin Flutter Sdk
The next step is to set up and initialize the AppLovinMAX SDK in our Flutter app, allowing the app to utilize AppLovinMAX services, such as displaying ads or tracking analytics.
To initialize the ApplovinMax Flutter SDK we write an asynchronous function, because the initialization of this sdk is and asynchronous operation.
void initializeApplovinSdk() async {
  await AppLovinMAX.initialize('YOUR_SDK_KEY_HERE');
}
We need to replace SDK key with the actual SDK key provided by AppLovinMAX. This SDK key is essential for identifying our app and enabling communication with the AppLovinMAX services.
Now call this function in initState function of our widget.
@override
void initState() {
  initializeApplovinSdk();
}
Why we are initializing ApplovnMax SDK in initState?
Because the initState method is called only once when the widget is first created. Initializing the AppLovin SDK here ensures that the SDK is initialized only once during the widget’s lifecycle. Repeatedly initializing the SDK could cause unnecessary overhead and potential issues with the app’s performance.
Step 4: Show Applovin Max Ads
We have initialized the ApplovinMax Sdk in our Flutter app. Now we are ready to show Applovin ads in our app. There are many ad formats in Applovin. Let’s see how can we display each of those in our App.
Applovin Max Ad Formats
Applovin Max supports 6 ad formats
- Banner
- Interstitial
- App Open
- MRECs
- Native
- Rewarded
First of all we will display the banner ad in our App.
Applovin Banner Ad in Flutter
We can show Applovin banner ads in Flutter app by two ways.
1- Programmatic method of Applovin Banner Ad
In this method we just need the Applovin Banner ad id. No need for creating widget for ad in our screen. We will set position of ad on screen programmatically.
Create Banner Ad
AppLovinMAX.createBanner(
  ‘banner_ad_unit_id’, AdViewPosition.bottomCenter);
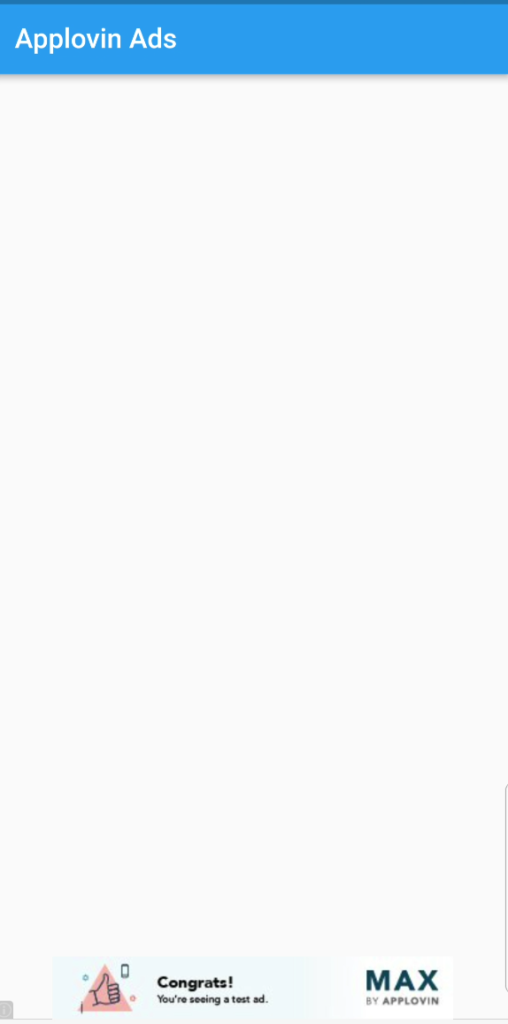
We have created a banner ad, and set position of this ad at bottomCenter. This ad will appear at bottom of screen. To display the loaded ad, we will call showBanner() function.
AppLovinMAX.showBanner(‘banner_ad_unit_id’);This line of code will display the Applovin banner ad.
2- Widget method of Applovin Banner Ad
We can also display Applovin banner ads by creating widget in our widget tree. By this method we can display the ad anywhere on the screen according to our preference.
MaxAdView(
    adUnitId: ‘banner_ad_unit_id’,
    adFormat: AdFormat.banner,
    listener: AdViewAdListener(
        onAdLoadedCallback: (ad) {
          AppLovinMAX.showBanner(‘banner_ad_unit_id’);
        },
        onAdLoadFailedCallback: (adUnitId, error) {},
        onAdClickedCallback: (ad) {},
        onAdExpandedCallback: (ad) {},
        onAdCollapsedCallback: (ad) {}))
This is an AdView of Applovin Max banner ad. It requires a listener parameter as object of AdViewAdListener class. This class is defined with several callback functions for different ad events.
Output

Applovin Interstitial Ad in Flutter
To display the Applovin interstitial ad in Flutter app we first need to load the ad like this.
AppLovinMAX.loadInterstitial(interstitial_ad_unit_id);This line of code will load the interstitial ad and Once the ad is loaded then we have to display that ad where we want.
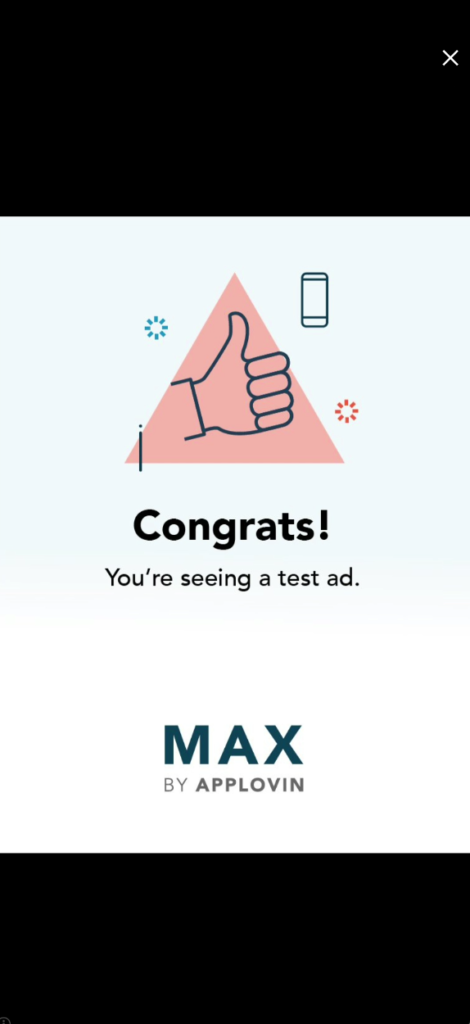
AppLovinMAX.showInterstitial(interstitial_ad_unit_id);As the ad was loaded, this line of code will display the loaded Interstitial ad.
Additionally we can also check is interstitial ad loaded yet or not like this so that we can display the ad if it is loaded.
bool isReady = (await AppLovinMAX.isInterstitialReady(interstitial_ad_unit_id))!;
if (isReady) {
  AppLovinMAX.showInterstitial(interstitial_ad_unit_id);
}
Furthermore we can attach a listener to it to check whether the ad has been successfully loaded or has failed.
    AppLovinMAX.setInterstitialListener(InterstitialListener(
      onAdLoadedCallback: (ad) {

      },
      onAdLoadFailedCallback: (adUnitId, error) {

      },
      onAdDisplayedCallback: (ad) {},
      onAdDisplayFailedCallback: (ad, error) {},
      onAdClickedCallback: (ad) {},
      onAdHiddenCallback: (ad) {},
    ));
By these listeners we can listen the status of interstitial ads, and can check errors why ad is not loaded etc.
Output


